
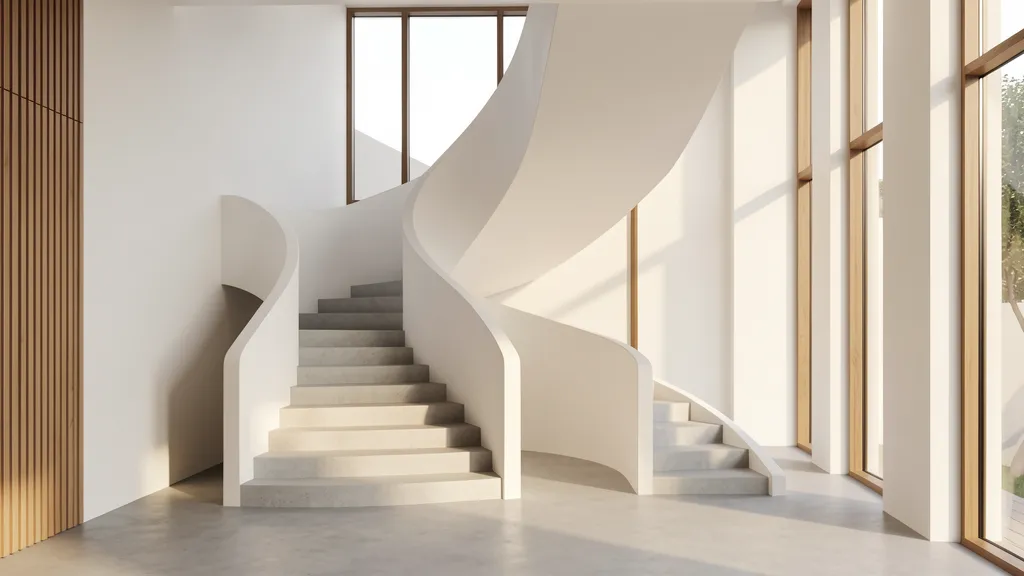
Modeling stairs and ramps has always been one of the biggest challenges in traditional 2D technical design. Calculating slopes, defining floors and mirrors, adjusting landings and ensuring compliance with technical standards consumed hours of work and constant revisions. With Autodesk Revit and the BIM methodology, this process becomes much more intuitive and integrated into the project as a whole. In this guide, you will learn how to model ramps and stairs in Revit efficiently, applying the best BIM practices.
Ramp Modeling in Revit
Revit offers dedicated tools for creating ramps that automatically adapt to project levels. To create a ramp, access the "Architecture" tab and click the "Ramp" button. The first step is to define the fundamental parameters in the properties palette:
- Width: defines the width of the ramp, which may vary depending on the type of building and accessibility requirements
- Maximum inclination: critical parameter to comply with NBR 9050, which recommends a slope between 5% and 8.33% for accessible ramps
- Base and top level: Revit automatically calculates the required length based on the height between floors
- Multi-level: allows you to create ramps that span multiple floors in a single command
- Floor material: defines the texture and material applied to the ramp surface
When positioning the cursor between two levels, Revit displays a real-time preview of the required length. This eliminates manual calculations and significantly reduces sizing errors. For curvilinear ramps, use the "Sketch Ramp" tool, which allows you to draw a custom contour with arcs and lines.
Stair Modeling in Revit
Stairs in Revit can be created in three ways: by sketch, by component or by level. The component option is the most used because it is fast and intelligent. Revit automatically recognizes the number of steps required based on the height between floors and the defined riser height:
- Staircase per component: define the height of the mirror (between 16 cm and 18 cm for residential buildings) and the floor (between 28 cm and 32 cm according to NBR 9077)
- Staircase by sketch: ideal for complex geometries such as helical stairs or with irregular landings, it allows you to draw each section manually
- Stair by level: automatically creates a straight staircase between two floors with the template's default parameters
- Guardrail and handrail: Revit automatically generates railings based on the stair's boundary lines, with height and profile customization options
- Ladder types: the software offers pre-defined templates for L-shaped, U-shaped, straight, helical and customized stairs
- Automatic documentation: stairs automatically generate floor and riser markings, step numbering and ascent arrows on the plans
One of the great benefits of BIM modeling of stairs is the automatic detection of conflicts. If a staircase intersects a beam or slab, Revit alerts you immediately, allowing adjustments before execution. This avoids expensive rework on site and ensures that the project is coordinated with the structural and installation disciplines.
Practical Tips for BIM Modeling
To ensure professional results when modeling stairs and ramps in Revit, follow these recommendations:
- Always configure Brazilian technical standards (NBR 9050 and NBR 9077) in the project template before starting modeling
- Use parametric stair families whenever possible — they allow you to change geometry without losing links to levels
- For vehicle access ramps, remember that the maximum slope is 20% according to NBR 9050, and the maximum length without landing is 10 meters
- Create dedicated 3D views to check the visual impact of stairs and ramps on architectural space
- Use visibility filters to control the display of guardrails and handrails at different plan scales
Check out the CanalVIP catalog available versions of Autodesk Revit to get started on your BIM projects today.
How to Get Revit
BIM modeling of stairs and ramps is just one of the hundreds of features that make Revit the main tool for architects and engineers in Brazil. With the BIM methodology and the right tools, it is possible to reduce project time by up to 40% and practically eliminate conflicts between disciplines. At CanalVIP, you will find licenses and instructions to download and start using Autodesk Revit in your projects. Do like thousands of Brazilian professionals and raise the level of your projects with Revit.